Please note

This is a new website and you may experience occasional issues. Open a ticket on Discord with any concerns.

If you have problems with checkout, please go to ajaxon.tebex.io

Please note

This is a new website and you may experience occasional issues. Open a ticket on Discord with any concerns.

If you have problems with checkout, please go to ajaxon.tebex.io

Please note

This is a new website and you may experience occasional issues. Open a ticket on Discord with any concerns.

If you have problems with checkout, please go to ajaxon.tebex.io

Please note

This is a new website and you may experience occasional issues. Open a ticket on Discord with any concerns.

If you have problems with checkout, please go to ajaxon.tebex.io

GET STARTED

Download and Install

Download and Install

Requirements

Requirements

Addons

Addons

Custom Textures

Custom Textures

CONFLICTS

Understanding conflicts

Understanding conflicts

Fixing conflicts

Fixing conflicts

PROJECTS

Burton LSC

Burton LSC

Muscle Gymnasium

Muscle Gymnasium

Koi Spa

Koi Spa

Bunker

Bunker

Coffee Shop

Coffee Shop

Aldore Hospital v2

Aldore Hospital v2

Coke Lab

Coke Lab

Getting Started

Custom Textures

CodeWalker RPF Explorer (RECOMMENDED)

  1. Download the latest CodeWalker from here: https://discord.gg/codewalker

  2. Extract the downloaded content and open "CodeWalker RPF Explorer.exe".

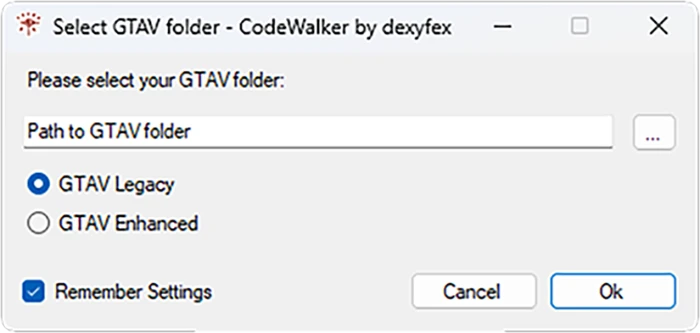
  3. Select your Grand Theft Auto V folder. (Always make sure you are using a copied version of the game)
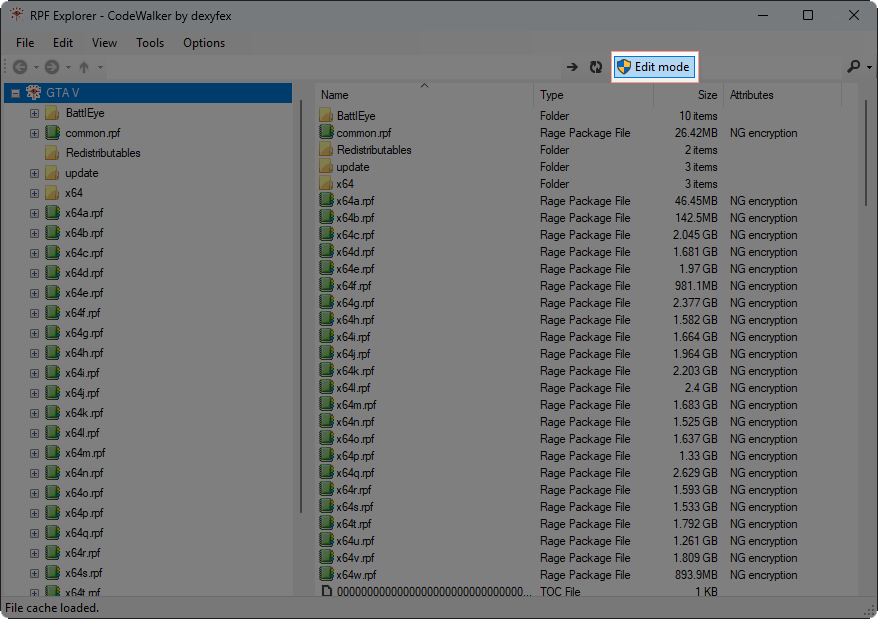

  4. Enable "Edit mode".


  5. Create a new folder, for example "mods".

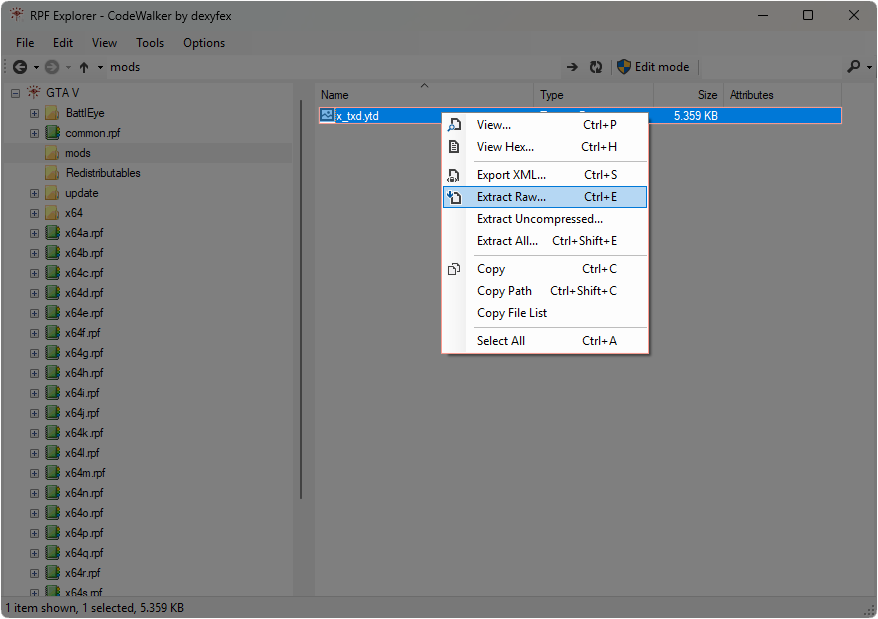
  6. Import the .ytd file into the folder.


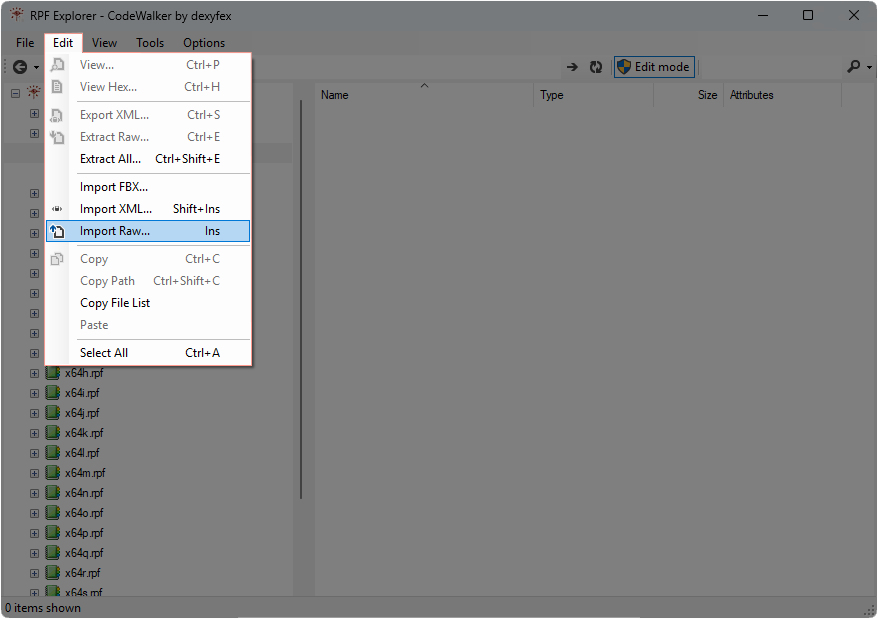
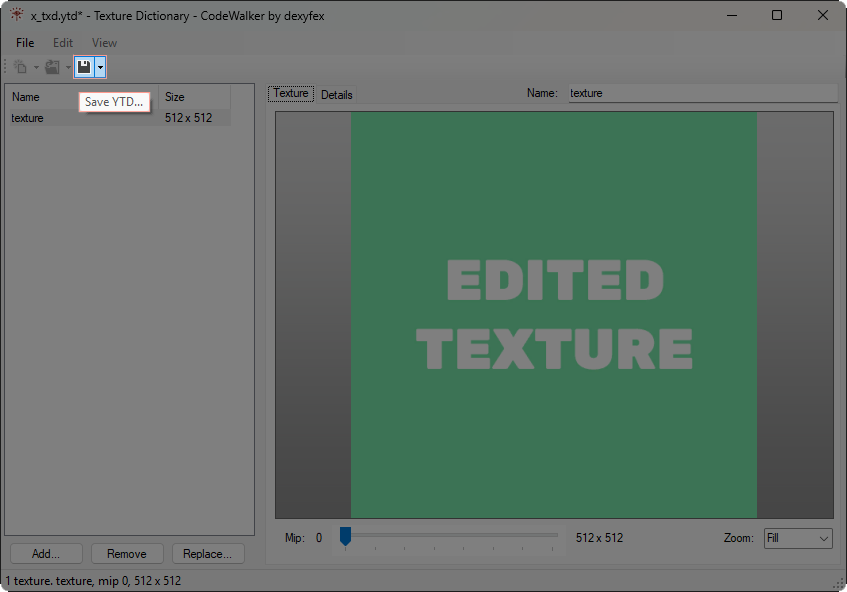
  7. Open the imported file

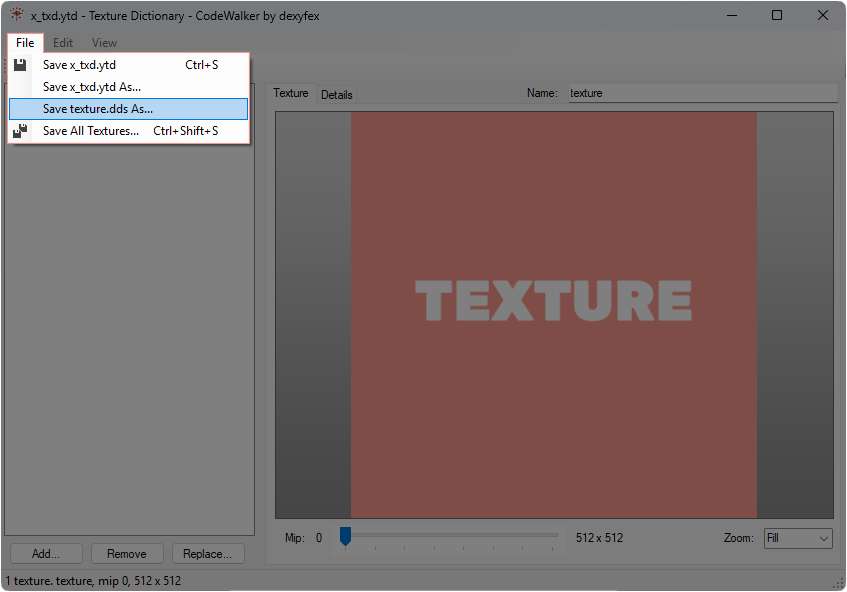
  8. Select the texture you want to edit and save it

    If you don't know how to edit .dds files you can use our dds-png converter.


  9. Edit the texture and save it (make sure you keep the same name of the file)

  10. Open the .ytd file again in CodeWalker RPF Explorer.

  11. Click on the texture that you want to replace and replace with the edited one. (Make sure the file is .dds, NOT .png or anything else)

    If you converted the .dds to .png, use the dds-png converter again to make it .dds.


  12. Save the .ytd file.


  13. Export the edited .ytd file and replace the old one in the resource.


  14. DONE!👏

Last edited:

Requirements

Requirements

Requirements

Jan 23, 2026

© 2025 Ajaxon | All rights reserved

Not affiliated with Rockstar Games, Take-Two Interactive, or FiveM

© 2025 Ajaxon | All rights reserved

Not affiliated with Rockstar Games, Take-Two Interactive, or FiveM